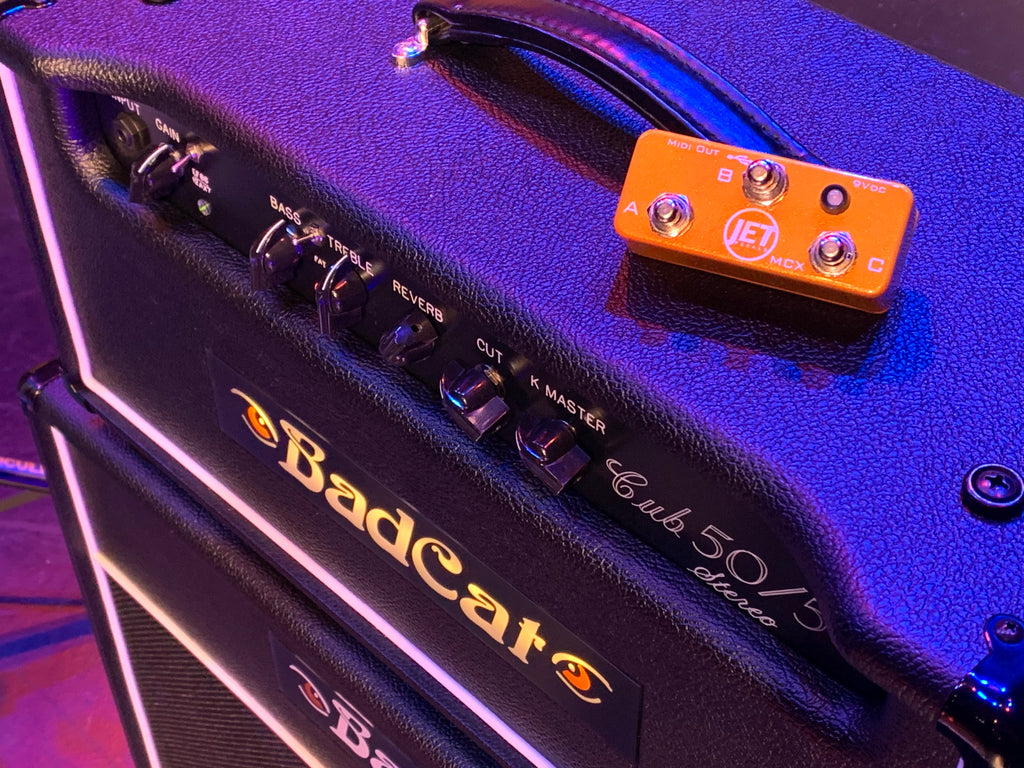
While most of us are familiar with the standard MIDI commands, like sending CC messages to control individual knob parameters and PC messages to call up presets. Today I want to talk about some of the more complex features that are packed inside the MCX and how we can take advantage of them to streamline our set.
Press-n-Release CC & PC Commands
The first feature I'd like to talk about is the Press-N-Release commands (CC & PC). If assigned to a preset, like short press A for example, the MCX will send a message once pressed and will remain that way as long as you are holding down the A button. Once button A is released, the MCX will send a separate message and will remain that way until A is pressed again. So what can we do with a command like this? Let's look at a real world example for the Press-N-Release CC command:

Let's say we want to have our delay pedal go into self-oscillation, we don't want it to do this all of the time, just when we are holding down button A. For this example we will use the Strymon Timeline and their user manual to find the correct values to send.

To control the Repeats knob we will need to send MIDI CC# 9 with a value that ranges from 0 to 127. 0 equals no repeats and 127 equals the repeats knob turned fully clockwise (or in other words, self-oscillation). Looking at the screenshot above for the MCX web editor, you'd put CC# 9 and Value# 127 in the Press locations. Then when button A is released you'll want your repeats to go back to where your original preset location was set at. Let's say your repeats knob was originally set to just under halfway, to find this number we will need to do a little bit of math. Looking at the Timeline manual, we see there are 128 different values we can use (0 thru 127 = 128). So if our repeats knob is just under half, let's say 45%, we'll just multiply 128 by 45% (128 * .45 = 57.6) and just round to the nearest whole number 58. Now we can fill out the values for the Release column in the MCX editor, CC# 9 and Value# 58. The last thing to fill out in the web editor is the MIDI channel your Timeline is on. This example will work just the same for controlling the Mix knob if you want a fully wet signal or even to control the decay time on a reverb pedal too. However the drawback to using the Press-N-Release CC command is that you won't have trails on your repeats or decay as you jump back and forth, insert the Press-N-Release PC command!
If you have a delay or reverb pedal that allows trails between presets, you can use the Press-N-Release PC command to jump back and forth between two different presets which will result in a much smoother transition between the two different sounds.
*** One thing to remember when using either the Press-N-Release CC or PC commands. Since all of our switches have several time based events tied to them, there's one extra step you need to do to make this function right. If button A will be held down for longer than a half of a second, upon releasing button A the long press preset will fire. This means you must put the same messages/commands in the long press preset as you did in the short press preset. If you don't you won't get the results you are expecting when releasing button A. Don't worry though if you forget this, anytime you assign one of these commands to a preset there will be a pop-up window in the web editor reminding you of this extra step.
Increment and Decrement PC (Scrolling Presets)
The next command I'd like to talk about is using the Increment and Decrement PC command to scroll up/down presets on any MIDI enabled pedal. This one is a bit tricky so I will try and make it as easy as possible to follow along. First thing to note is that looking at the screenshot below, we now have a "Counter" box to fill out. The MCX uses 4 different counters so you can scroll presets on up to 4 different pedals without any conflict between each pedal. Assuming you are using two different buttons for scrolling up/down, the counter is used to make sure both presets are in sync with each other and ensures your presets stay in numerical order.

When scrolling presets it is likely that you will use two different buttons, one for going up and another for going down thru the presets. Above we spoke briefly about the "Counter" box, this is where you need to make sure the same counter number is used for both buttons assigned to going up and going down thru the presets, in this example we are using counter # 1. Looking at the screenshot above, we have a Start # and a High Limit #, this is the range of presets that we want to scroll thru (we used 1-10 for this example but you are not limited to that range). This command is assigned to the short press A preset, when pressing A for the first time, it'll call up preset #1 on your desired pedal (set on MIDI channel #1 in this example), the second press will call up preset #2, third press - preset #3... etc. until you've reached preset #10. The next press after reaching preset #10 will start the cycle all over again with preset #1. The next thing we need to do is assign a preset that scrolls down thru these same presets (1 thru 10).

This is almost the same thing as Increment PC however we need to flip flop the values. Looking at the screenshot above, our. Start # is 10 instead of 1 from the Increment preset. Instead of having a High Limit # like in the Increment preset, we now have a Low Limit #. The value for the Low Limit # is 1, the Counter # is 1 and the Channel is 1, both Counter and Channel need to be the same as the Increment PC command. Now we have a preset that ranges from 10 to 1 and the first press of this preset will call up PC #10 and consecutive presses will scroll down to 1 and then restart back at 10. If the short press A (increment preset) has been pressed before the decrement, let's say leaving off at number 3. The counter number keeps track of this so the first press of the decrement preset will be 2 instead of 10. These two presets/buttons will remain completely in sync and never miss a beat.
Stay tuned... in Part 2 we will talk about how to best use the MIDI clock, MIDI over USB, and Jumping Banks on the MCX.
Edit: Here's the link to Part 2.
Until then... drop us a question or comment below and let us know if you are using any of these features in your current rig!
- Junior "JET" Thomason
Leave a comment: